We’ll start this report by adding a ReportHeader band, this displays at the top of the first page of the report.
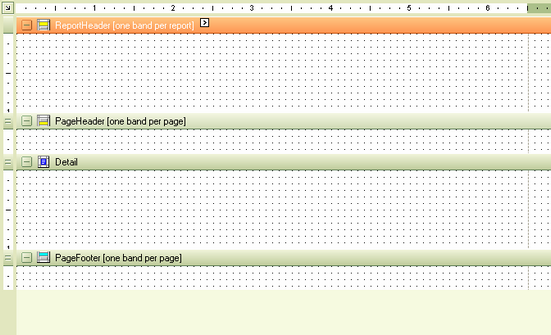
First we’ll add our company logo..
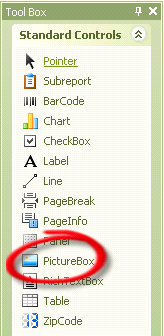
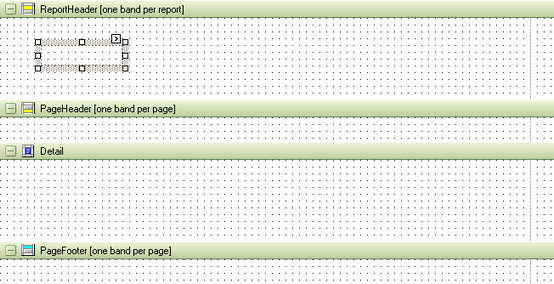
Click and drag a PictureBox from the Tool Box to the ReportHeader band..
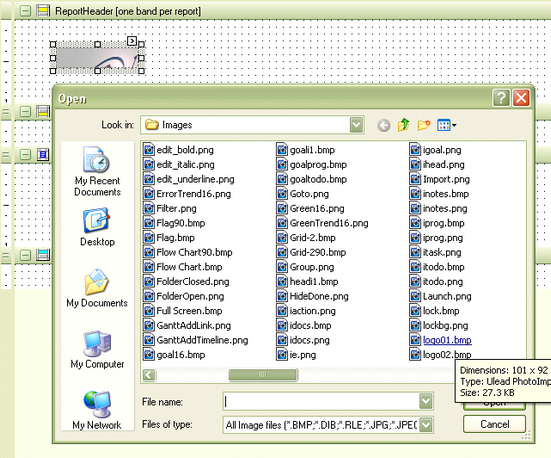
Now, click the Image property in the Property Grid pane, the click the ellipsis button that appears..
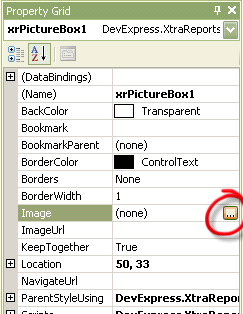
This will display a File Open dialog to allow you to select the image for the logo..
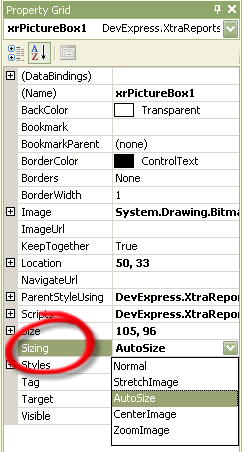
Next, click the Sizing property and select “AutoSize”, this will size the Picture Box to match the image you selected.
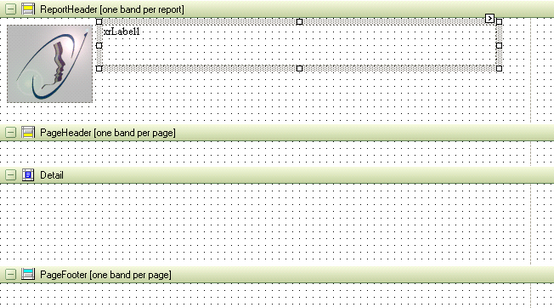
Next we will add a Label control to the ReportHeader by dragging and Dropping a Label from the Tool Box.
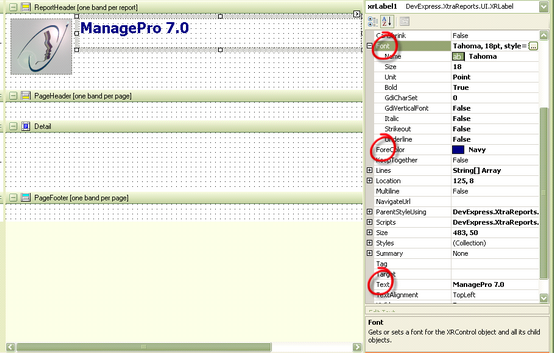
We set the Text, Font attributes and Color using the properties highlighted below:
We’ll finish off the ReportHeader by adding a report title (another Label control) and a horizontal line
(by dragging a Line from the Tool Box and setting its LineWidth and ForeColor properties).
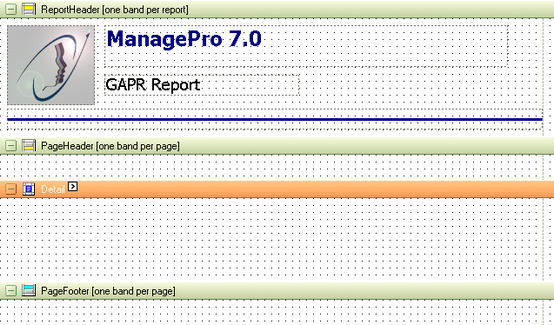
The ReportHeader is complete, next we’ll create the column headings, these will go in the PageHeader band which is repeated on every page of the report.
|